Day 4 - Using Trail Maker to bring your content to life. So, you’ve now created your content, it has been edited and the stakeholders have signed off. Now let’s get into the fun bit - how Trail Maker works. We have discussed the thinking behind the planning, but when it gets to moving the final content into Trail Maker how do you do it?
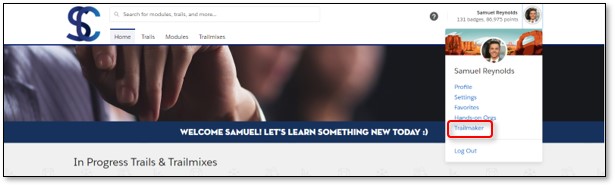
Once you have been granted the myTrailhead license and permission set, you can log into myTrailhead using the unique URL that was created for you by the myTraihead gurus at Salesforce. You will have the option for ‘Trail Maker’ in the top right of your page underneath your user picture.
When creating content in myTrailhead there is certain terminology and structure you need to know about before jumping straight in:
- Trail: An ordered group of modules that provides a guided learning path
- Module: Covers a single learning topic
- Units: Covers a subtopic within a module, when you complete all units in a module you earn a badge
- Trailmix: Allows you to combine collections of modules in an easy to follow trail
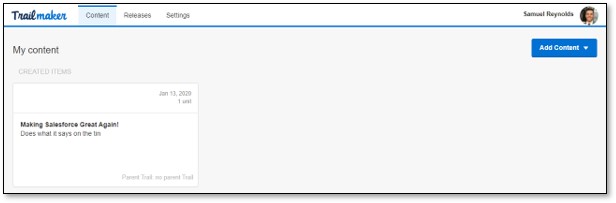
In Trail Maker you will see (across the top) Content, Releases and Settings. Best practice is to create the Release first - this is like a bucket for you to put your content in as you create it and collate it ready to be published. Once you click on Add Content you have the options to create a Trail, Module or upload already-created content.
If you are copying your content into myTrailhead from GoogleDocs or Quip, you should create your Trail first to provide the framework for your content, and then create your Modules and Units.
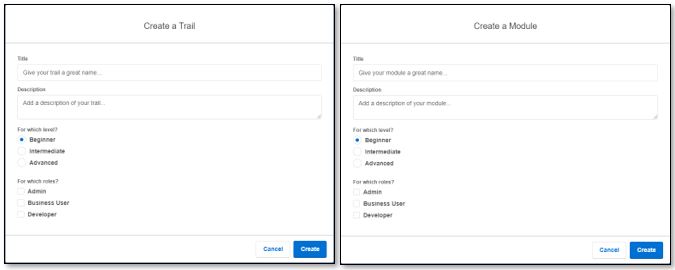
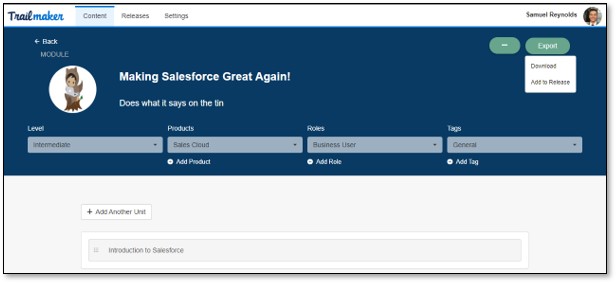
Once you have chosen either Trail or Module you start off by giving some details such as the name, description, level of knowledge and for which roles this is for.
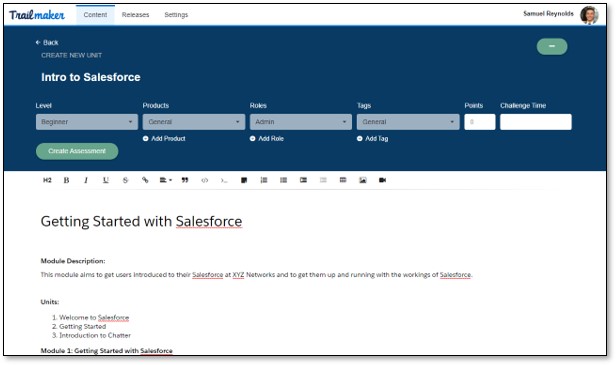
Within the module, you create all of the units. There is no hard limit on word count however, best practice is to aim at between 500-1500 words to ensure it is “bite-sized” and easy to consume. Any longer than this and you should consider splitting the content into more units. There are some limitations to formatting your text, however you are able to:
- Create subheadings
- Format text as bold, italic or underlined
- Embed links, images or videos
- Format lists
- Create tables
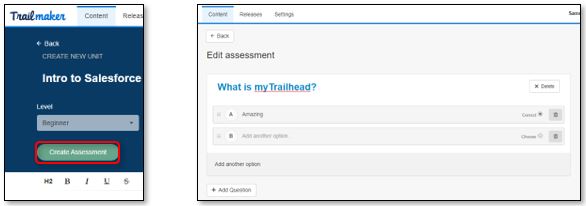
At the end of each unit you create a multiple-choice quiz to test that your employees have understood and learnt what they have just read. Your employees must answer them all correctly before moving on, and they gain different levels of points depending on how many attempts they need.
Once you are happy with the content created and you have included the URL for the badge art, you are now ready to add it to the Release we mentioned earlier. The great thing about Trail Maker is that it automatically saves as you are working (be careful if your browser auto clears cache as this is how it works). Important point to note, at this stage only you will have access to this piece of work while you are creating it – there is no sharing of content during the creation phase in Trail Maker. When you are ready to deploy others can review your work before publication, but even then they cannot edit it directly.

Now you can see that your module and units are in the Release we mentioned earlier. The final step is to now to click Publish.
I hope this blog has given you an insight into the Trail Maker tool. If you have any questions or are in any need of assistance along your myTrailhead journey do not hesitate to ask the Stimulus team. Lookout for our final blog tomorrow on how to assign and track learning using Trail Tracker.
We also have a myTrailhead webinar on the 17th March where we will explain what myTrailhead is and how it can benefit your users. Don't miss out, register to attend.