It may be that you’re still using the Salesforce for Outlook add-on. I’m talking about the original installed version, rather than the Lightning for Outlook cloud-based add-on. If you are, you might know that Salesforce are planning to retire the old add-on as they phase out support for Internet Explorer 11 in December 2020.
You might be scratching your head at this point, wondering why an Outlook extension could be linked to IE11. If you are, don’t worry! The reasoning behind it is a little technical. Put very simply, the extension relies on IE11 to communicate to and from Salesforce. With support for this browser ending, this means it won’t be able to communicate any more, so it needs to be turned off. If you were curious why resetting the cookies in IE11 was the recommended fix for issues you faced with the tool, this is why!
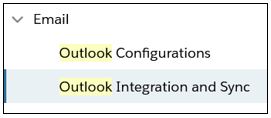
Thankfully, enabling and running the Lightning for Outlook plugin is really simple. All we need to do is go to setup and click on “Outlook Integration and Sync” (which is under the email tab on the left-hand side of your screen).
Once you’ve clicked on this, you’ll see a screen that looks like this:
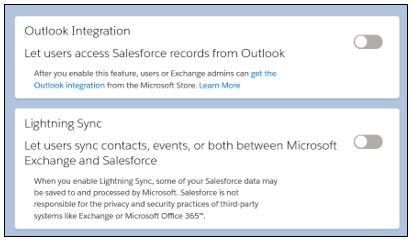
The next steps depend on how much you want to enable in terms of the integration. For this blog, I’ll be running through how to set up the email integration (the top option) rather than the ability to sync Contacts and Events.
Go ahead and turn on the “Outlook Integration” option at the top, and you’ll be presented with some new options.
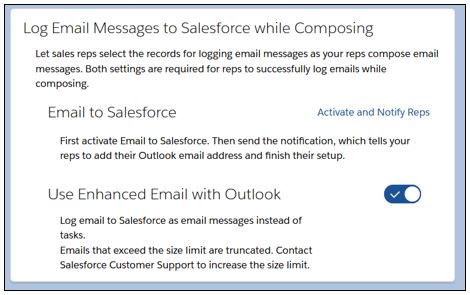
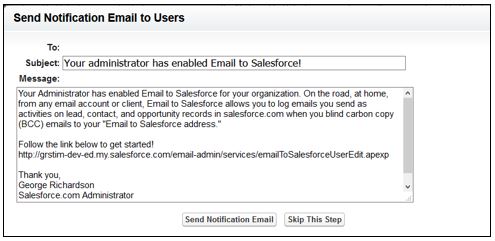
Click on “Activate and Notify Reps”. It’ll take you to a new page where you can set the integration to active. When you activate the integration here, Salesforce will prompt you to send a notification email to your users to prompt them to install the integration in Outlook. You can do this if you like, but for today we’ll click on “Skip This Step”, because I’ll be showing you how to install the extension yourself.
Once it’s active, you’ll receive a little notification on your screen to say it’s enabled, and we can now go ahead and log in. For this next step, we’ll need to open Outlook, more specifically the add-in store. To do this, you can click on the Store icon if you have it, or search “store” in the search bar at the top of Outlook. You’ll find yourself in on the store page. Search for “Salesforce”, and you should see an entry that looks like this:
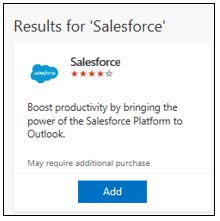
Go ahead and click on Add. Once you’ve done that, you should be able to see a little Salesforce Cloud when you open an email. It looks like this:

Go ahead and click on that, and a little side bar will open on the right-hand side of your screen. You’ll be prompted to log in to Salesforce. Once that’s done – congratulations! You’re all hooked up and ready to start firing emails across with the new version of the integration.